Universal SSD Cloning and Transfer Kit (USB 3.0 to SATA)
The easy and complete solution to upgrading your PC or Mac with a super fast SSD.
Clone your existing data to a new drive in three steps!
Upgrading your PC or Mac with the super fast, highly reliable performance of a Solid State Drive is an easy, DIY process with the VisionTek Universal SSD Installation Kit. This powerful, yet easy to use solution comes with everything you need - point and click software, USB 3.0/2.0 to SATA 3Gb/s connection cable, and 2.5" to 3.5" drive adapter bracket - to transfer your data from your existing hard drive to a new SSD prior to installing the SSD into your machine. This flexible tool can also be used to create bootable clones and archival backups.
Transfer Data Or Create A Supercharged Boot Disk
The Data Select feature provides a simple method to exclude files from the cloning process so you migrate only the data you need from a large HDD to a smaller capacity sized SSD. This useful feature is also perfect for creating a lightning fast SSD boot disk that loads your OS and apps nearly instantaneously while retaining your documents and media files on the original hard drive.
Upgrade To A Larger Internal Drive In Three Steps
Three easy steps is all it takes to automatically copy all your data – programs, documents, address books, e-mail, even your OS and system preferences - from the small factory hard drive to a new spacious hard drive. Simply choose your Source and Destination drive, click the "Start Clone" button and our custom software takes care of the rest.
Be Prepared... Create A Disaster Recovery Backup
Before disaster strikes and you experience a drive failure or even theft to where all your data is lost, our software can be used to create a bootable recovery backup. This "recovery" drive can be installed into your system, an external enclosure, or drive dock to keep you up and running with no data loss.
The Universal SSD Installation Kit is a non-returnable item. If you have an issue with your VisionTek Universal SSD Installation Kit, VisionTek will replace the item only.
Verify Copy: Synchronize the data of the source and destination drives after the copying process.
Resize Partitions: Automatically resize partitions to the new drive, or manually resize your partitions
SmartCopy: SmartCopy enables you to clone your file systems in a fraction of time usually required.
Reporting Features: Outline the number of sector copied, read errors, write errors, and verification errors.
Specifications & Requirements
Interface: USB 3.0/2.0 to SATA 3Gb/s 22-pin Serial ATA
Data Transfer Speed: Up to 600MB/s
PC Requirements
- CD-ROM Drive, 128MB RAM, Pentium® CPU II, available USB 3.0/2.0/1.1 port
- Supported Operating Systems: Microsoft Windows® XP, Vista™, 7, and 8
Mac Requirements
- CD-ROM Drive, Apple® G3 or later, 64MB RAM, available USB 3.0/2.0/1.1 port
- Supported Operating Systems: Mac® OS 9.2 or later & Mac OS X 10.2 or later
Special Macintosh User Note: To use the data transfer software to clone data on your Mac, you can either download a free utility, ShirtPocket SuperDuper (http://www.shirt-pocket.com/SuperDuper/SuperDuperDescription.html) or utilize Disk Utility.
To use Disk Utility to upgrade your Macintosh hard drive:
NOTE: All data on the external drive will be erased. Make sure you are prepared for this and if you've copied any data to the external drive you have backed it up separately.
- Turn on and plug in the external drive.
- Open Disk Utility (in Applications>Utilities).
- Click on your computer's main hard drive (the one with Mac OSX installed on it) in the left-hand column in Disk Utility.
- Click the 'Restore' tab (Mac OSX 10.3 Panther or later required).
- Drag your main hard drive into the 'Source' white field.
- Drag your external drive into the 'Destination' white field. Check the optional box underneath the Destination field that says 'Erase destination'
- Click 'Restore' and it will copy all data across to your external drive.
- When it is finished, Go to System Preferences and click on Startup Disk, and select the External drive.
- Then shut down the computer and proceed to install the external drive inside the Macintosh.
NOTE: If you are having problems with this method of backing up using Disk Utility, there is an optional alternative: Instead of opening Disk Utility from your Applications folder, you can boot your computer using the OSX Installation CD or DVD 1, then (after your computer is started up from the DVD), click on the 'Installer' menu and select 'Disk Utility...' from there, then go through steps 3-7, restart, and do the rest of the steps outlined above.
In the Box
- Data transfer software
- Drive adapter for using 2.5" drive in 3.5" bay
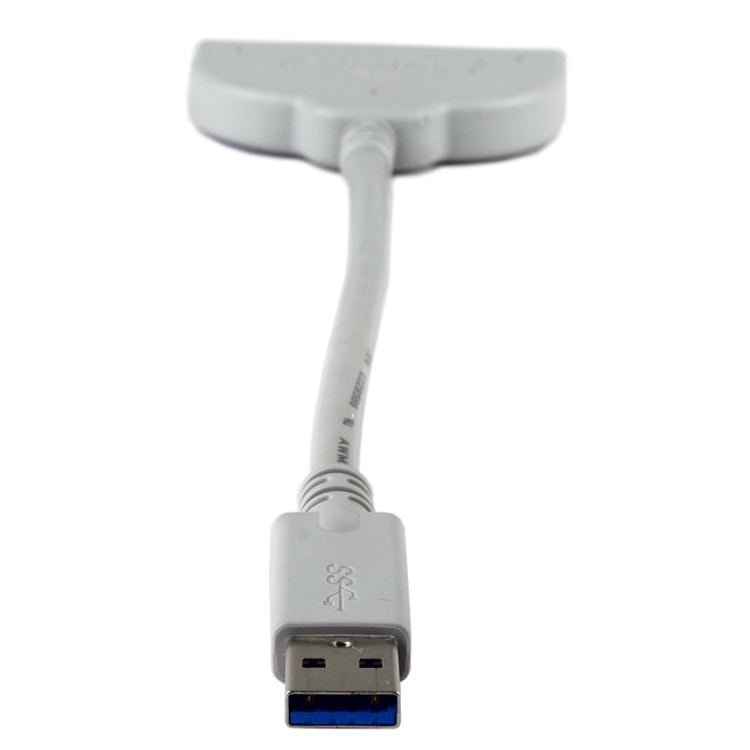
- USB 3.0 to SATA cable for connecting SSD to computer
- CD with operating guide
- One year warranty
Couldn't load pickup availability
900631
View full details